A remote-friendly web workspace for continuing Codex sessions from desktop and mobile browsers.
Important
Non-commercial use only. This project is provided solely for learning, research, personal use, and other non-commercial purposes. Commercial use requires prior written permission from the copyright holder.
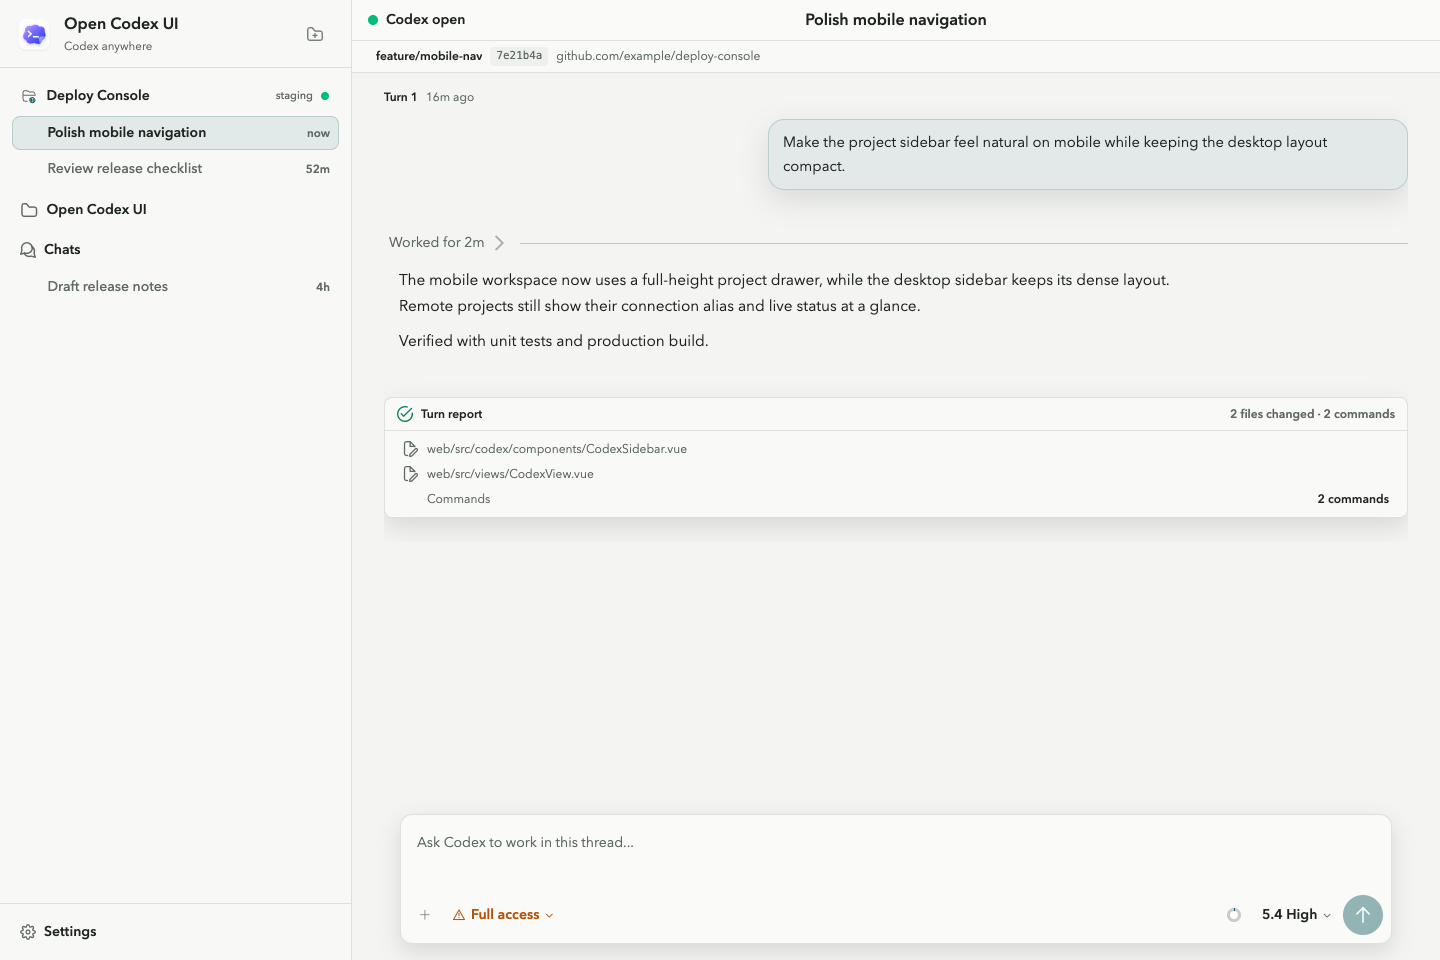
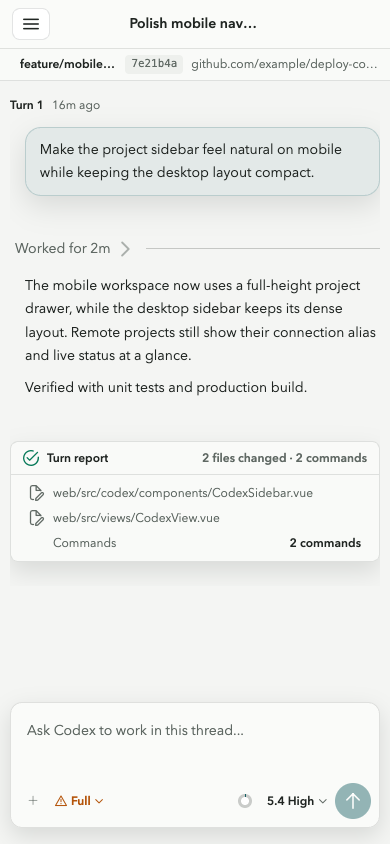
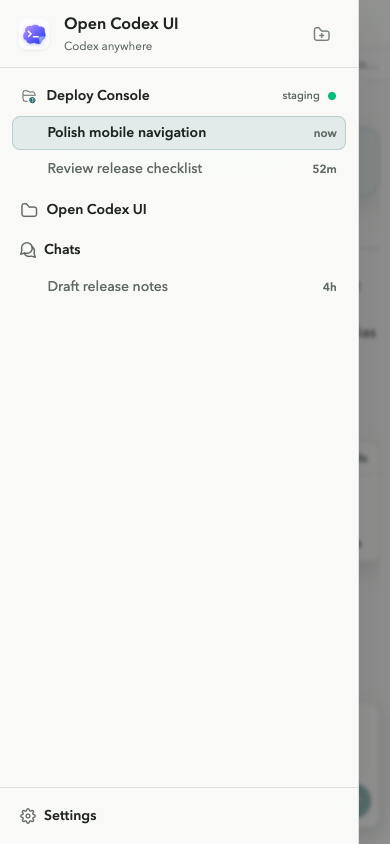
Run the packaged application through Node.js:
npx open-codex-uiThe npm launcher reuses an existing uvx, or installs uv from Astral's
official installer into its own cache. You can also run the Python package
directly with uv:
uvx open-codex-uiOpen http://127.0.0.1:13140. The wheel already contains the compiled frontend.
To accept connections from other devices, bind explicitly to the network:
uvx open-codex-ui serve --host 0.0.0.0 --port 13140Install the command persistently and register login startup:
npx open-codex-ui daemon install
# or
uvx open-codex-ui daemon install
This installs open-codex-ui into uv's user bin directory and uses the native
service manager for the current platform:
| Platform | Service |
|---|---|
| macOS | LaunchAgent in ~/Library/LaunchAgents |
| Linux | systemd --user service |
| Windows | Current-user Task Scheduler task |
After opening a new shell, manage the service directly:
open-codex-ui daemon status
open-codex-ui daemon stop
open-codex-ui daemon start
open-codex-ui daemon uninstall
The service starts when the user logs in. Runtime state, retained environment,
and logs live under ~/.yier/web/. Run daemon install again to update its
host, port, or captured environment; use update for application versions.
Start Open Codex UI first, then expose the default local address with an ephemeral Quick Tunnel:
open-codex-ui tunnel start
open-codex-ui tunnel status
open-codex-ui tunnel stop
For a tunnel already configured in the Cloudflare dashboard, provide an API token that can read the account's tunnel configuration and connector token:
export CF_TOKEN='your-cloudflare-api-token'
open-codex-ui tunnel start --mode managed-remote --name my-tunnel
The named-tunnel flow discovers its public hostname and local origin from
Cloudflare. Set CF_ACCOUNT_ID or pass --account-id when account discovery
is unavailable. You can bypass the API with an existing connector token file:
open-codex-ui tunnel start --mode managed-remote \
  --token-file ~/.cloudflared/my-tunnel.token \
  --hostname codex.example.com
Locally managed cloudflared configurations are also supported:
open-codex-ui tunnel start --mode managed-local
open-codex-ui tunnel start --mode managed-local --config ~/.cloudflared/config.yml
Tunnel state and logs are stored under ~/.yier/web/. API and connector tokens
are never persisted there or included in the cloudflared command line. Tunnel
processes are independent from the login service, and tunnel stop only stops
the cloudflared process started by Open Codex UI.
Warning
A tunnel exposes Open Codex UI to the public Internet. Configure application authentication or Cloudflare Access before sharing the public URL.
Update a persistent installation to the latest stable release:
open-codex-ui update
# or
npx open-codex-ui update
If the login service is running, it is restarted after the update. Plain
uvx and npx runs resolve their release when launched, so the command makes
no persistent changes when no uv tool installation exists.
Authentication is disabled unless a password variable is configured:
export YIER_AUTH_PASSWORD='change-this-password'
uvx open-codex-ui daemon install --host 0.0.0.0
For a hashed password:
uv run --with open-codex-ui python -c "from yier_web.auth import hash_password; print(hash_password('change-this-password'))"
export YIER_AUTH_PASSWORD_HASH='paste-generated-hash-here'| Variable | Purpose |
|---|---|
YIER_AUTH_PASSWORD |
Plain login password |
YIER_AUTH_PASSWORD_HASH |
Hashed login password |
YIER_AUTH_SECRET |
Additional session-cookie signing secret |
YIER_AUTH_SESSION_TTL_HOURS |
Session lifetime; defaults to 168 hours |
YIER_CODEX_EMBED_TOKEN |
Token for unauthenticated iframe access |
daemon install retains HOME, PATH, CODEX_HOME, and current YIER_*
variables in a user-only environment file so they remain available after login.
Source development requires Python 3.12+, Node.js 20+, uv, and pnpm:
uv sync
pnpm --dir web install
Start the frontend and backend in separate terminals:
pnpm --dir web dev
uv run python main.py --debug --reload --host 127.0.0.1 --port 13140
The application remains at http://127.0.0.1:13140; the backend proxies
frontend traffic to the Vite server on port 5173.
| Command | Purpose |
|---|---|
pnpm --dir web dev |
Start Vite |
uv run python main.py --debug --reload |
Start the development backend |
pnpm --dir web build |
Type-check and build frontend assets into yier_web/static |
uv run open-codex-ui |
Run the source checkout in production mode |
uv run pytest |
Run backend tests |
uv run python -m compileall yier_web |
Check Python compilation |
pnpm --dir web test:unit |
Run frontend unit tests |
pnpm --dir web type-check |
Run frontend type checking |
To test the production build from source:
pnpm --dir web build
uv run open-codex-ui
Codex integration is provided by the published
open-codex-bridge package.
See IFRAME.md for iframe authentication, setup, and the
postMessage API.
Copyright 2026 Sube (zhangluguang). Licensed under the PolyForm Noncommercial License 1.0.0. Commercial use is not permitted without separate written authorization from the copyright holder.